Wednesday, August 31, 2016

Studio Day! Plus a Video ;-)

After a couple of weeks of feeling truly awful I finally felt well enough and had the time to play in the studio today. Don came up to the studio when he got home and we made the silly little video below. Click the white arrow in the center of the first image to play the video.


 It was fun having Don hang out with me in the studio. He took some photos of me working and we joked around and laughed a lot.

 This is how this painting session started out. Water soluble graphite on drawing paper. 

 These are the tools I gathered to work with. I ended up using a couple of other things too, like black gesso and blue paint. 

 Just going with the flow and letting the paint fly. I ended up getting paint splattered on the floor, my face, and all over my bare feet. That's the best way to paint!


This is where I left off tonight. I imagine I will do more on it tomorrow and who knows, it may totally transform into a completely different painting. 

Friday, August 26, 2016

Goat Fencing, Down to the Wire

All of the fence posts a finally in! Woo hoo!!! Don drilled rebar into the ledge and up through the posts and then commented the posts to the ledge. Today we began striking the wire for the electric fence. That will go much faster than the posts did. This ledgy land makes everything challenging. 


 Drilling rebar into the ledge to hold the post. A cement footing that will be poured over it.


You can see Don's homemade "Wire Jenny" in the above and below photos.  It worked great for rolling out the wire.


Stringing the electric wire goes so much faster than putting up the posts. 

Thursday, August 25, 2016

New Fold Up Roost!

I designed a new roost for the coop and Don built it the other day. It is really col because it folds up in the air and latches to the ceiling when you want to clean out the coop. I forgot to take photos of it lifted up but you get the idea. 


It was the middle of the day but the girls started to come in when they heard us in the coop. They wanted to see what all the fuss was about.

 Don swore he was channeling his inner chicken here but I told him he looked much more like a monkey ;-)

 Hello!

This hen is checking out the view

The ladies coming in the night on their new roost, about half of them are in the coop in this photo.

Posting this guy because he is just so darn lovely! Wells the Welsummer Rooster. 

Sunday, August 21, 2016

Love the New Egg Room & Nest Boxes

 Today I sat on the water bucket in the barnyard and designed the nest boxes and new roost ladder using a 1 x 8 piece of pine as my sketchbook. Can you tell I am married to a carpenter? Lol Don promptly built the nest boxes from my pine board sketches.


 The nest boxes will be under the stairs in an alcove we will create by cutting a door in the wall between Don's workshop and the chicken coop. The stairs are in the main part of the barn where Don's workshop is and the coop is on the other side of the wall.


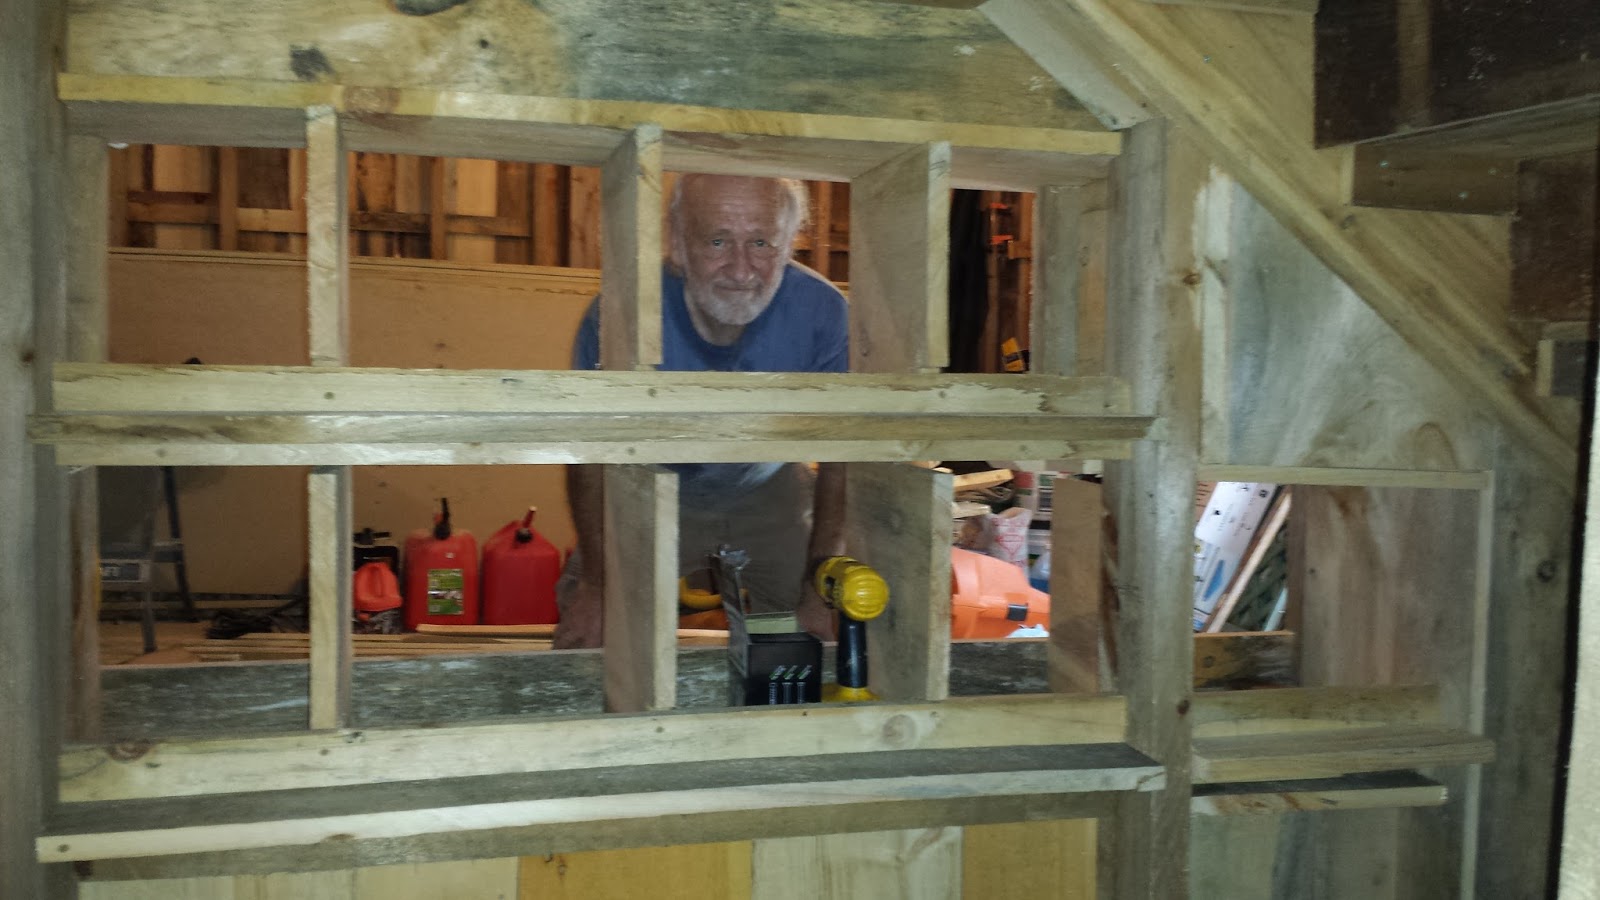
 In the above photo Don is in his workshop and I am in the nest box room of the chicken coop. 

 The new doorway cut in the wall of the coop that leads to the "Egg room"where the nest boxes are

 Don in the "Egg room" looking into his workshop

 Don on the workshop side looking into the coop

Filling the nest boxes with shavings

Putting the top hinged door on the back of the nest boxes. The bottom door will be hinged too. 

 Checking out the nest boxes

 Looking out the chicken coop window down to the chicken run

The girls are molting and there are tons of feathers everywhere. Today when I was raking out the run and putting new bedding in the coop I couldn't resist grabbing a few. I am going to try sketching in my art journal with them using some oak gall ink. 

Saturday, August 20, 2016

Goat Fencing on Ledgy Land = Hard Work

 Don has been setting the corner posts for the small goat pasture by the barn. It will open up to a larger grazing area after the logger comes and does some clearing. It has been HOT so he put up an umbrella over the holes when he dug them. To make matters even more difficult our land is very ledgy with almost no topsoil in some areas. Don came up with a plan to make the corner posts stable by using rebar and cement. He drilled down into the ledge put the rebar in the ledge and into the post and then cemented it. He also ran rebar out from the sides as you will see in the photos. What a project!


 Success! The first post is cemented in.

 The braces are just a support until the cement dries

 As you can see in this second hole there is not much topsoil at this spot before you hit ledge. 

 Setting out the white line posts is a lot easier than installing all the corner posts. The tension from the electric fence requires really solid corner posts. The line posts, between corners don't need to be as solid. 

 If you look at the bottom of this post you will see how he has the rebar running out from the sides of the post in a + shape.


 Mixing the cement in the hot, hot sun!

 Shoveling the cement over the rebar


 The 3rd post had to be installed directly on the ledge. Don added a pin that goes into the ledge and up into the post and the the + of pins in the post like the other. Plus he drilled four other pins down into the ledge. The cement will be poured over all to those pins up onto the post. The wooden frame is just  a form to hold the cement and will be removed later.  


3 posts down and more to go. Looks like the weather is going to be disagreeable so not sure how much we will get done on Sunday.