Tuesday, January 31, 2012

My Silk Painting Studio

Wasn't feeling well yesterday so I didn't make any new progress on my silk paintings but I did take a couple of photos of my studio and I will share those with you today.
My assortment of dyes and brushes and a double stainless steel sink

Another shot of the area around the sink where I keep my dyes, brushes and resists

Looking out the door towards the deck and hot tub with Bilbo Baggins (Billy) soaking up the sun on the floor


Half of my work table folds down in case I want to set up my easel and work with oils or acrylics or if I am doing very large work and need more floor room

My drawing table and stacks of sketchbooks and inspiration


Looking back towards the end of the studio where I keep my silk steamers and stretchers. Kind of hard to see in this photo

You can see my 2 silk steamers and two burner Garland in the background and my stretchers hang above them on the wall

Bilbo and Mia my trusty studio companions and sun soaker uppers ;~)

Monday, January 30, 2012

Steaming Silk & Studio Assistants (of the Furry Persuasion)

I steamed 4 silks yesterday to set the Resistad resist that I used on them and took some photos of the process.
Rolling the silk between sheets of framers paper in preparation for the steamer

The roll of 4 resisted silks ready for the steamer. You can see my 2 silk steamers in the background.

Loading the roll into the steamer. Hot, hot, hot......


Unloading the roll of steamed silk 1-1/2 hours later. The roll is extremely hot so I just sort of pull it all apart to let it cool off a bit before handling further.

The steamed silk hanging on the line and ready to have the layers of French dyes applied
My 2 silk steamers and my Garland. Above those hang my silk painting stretchers.

Bilbo Baggins, laying on the floor on the right, is supervising the whole steaming operation from his spot in the sun


Bilbo Baggins is one of my fury studio helpers

Miss Mia or "Momma's Mia" as Don like to call her is my other furry studio assistant

I can't stress enough the importance of having studio assistants of the furry persuasion. These guys are my comic relief when things get stressful and they offer free unlimited cuddle therapy

Sunday, January 29, 2012

Applying Resistad to Silk with Air Pen Pro

I have been using my trusty Air Pen Pro, (not the same as the regular Air Pen which I am told is not very good), to apply Resistad to 4 silk paintings. The Air Pen Pro is great for people with arthritis in their hands.


The day before I mix my Dupont noir/black dye with some Resistad (about 50/50) and I let it thicken over night. Resistad is available from Procolour in NZ: Procolour Website

 Then I gather all of my Air Pen Pro accessories and fill the applicator with the Resistad that has been colored with the Dupont noir dye

 This last relapse I had left my hands pretty weak so I needed to go back to wearing my compression gloves and my lines were a little more wiggly but then again my customers are always telling me that the wiggly, whimsical nature of my paintings is what draws them to my work. So that may be a good thing ;~)
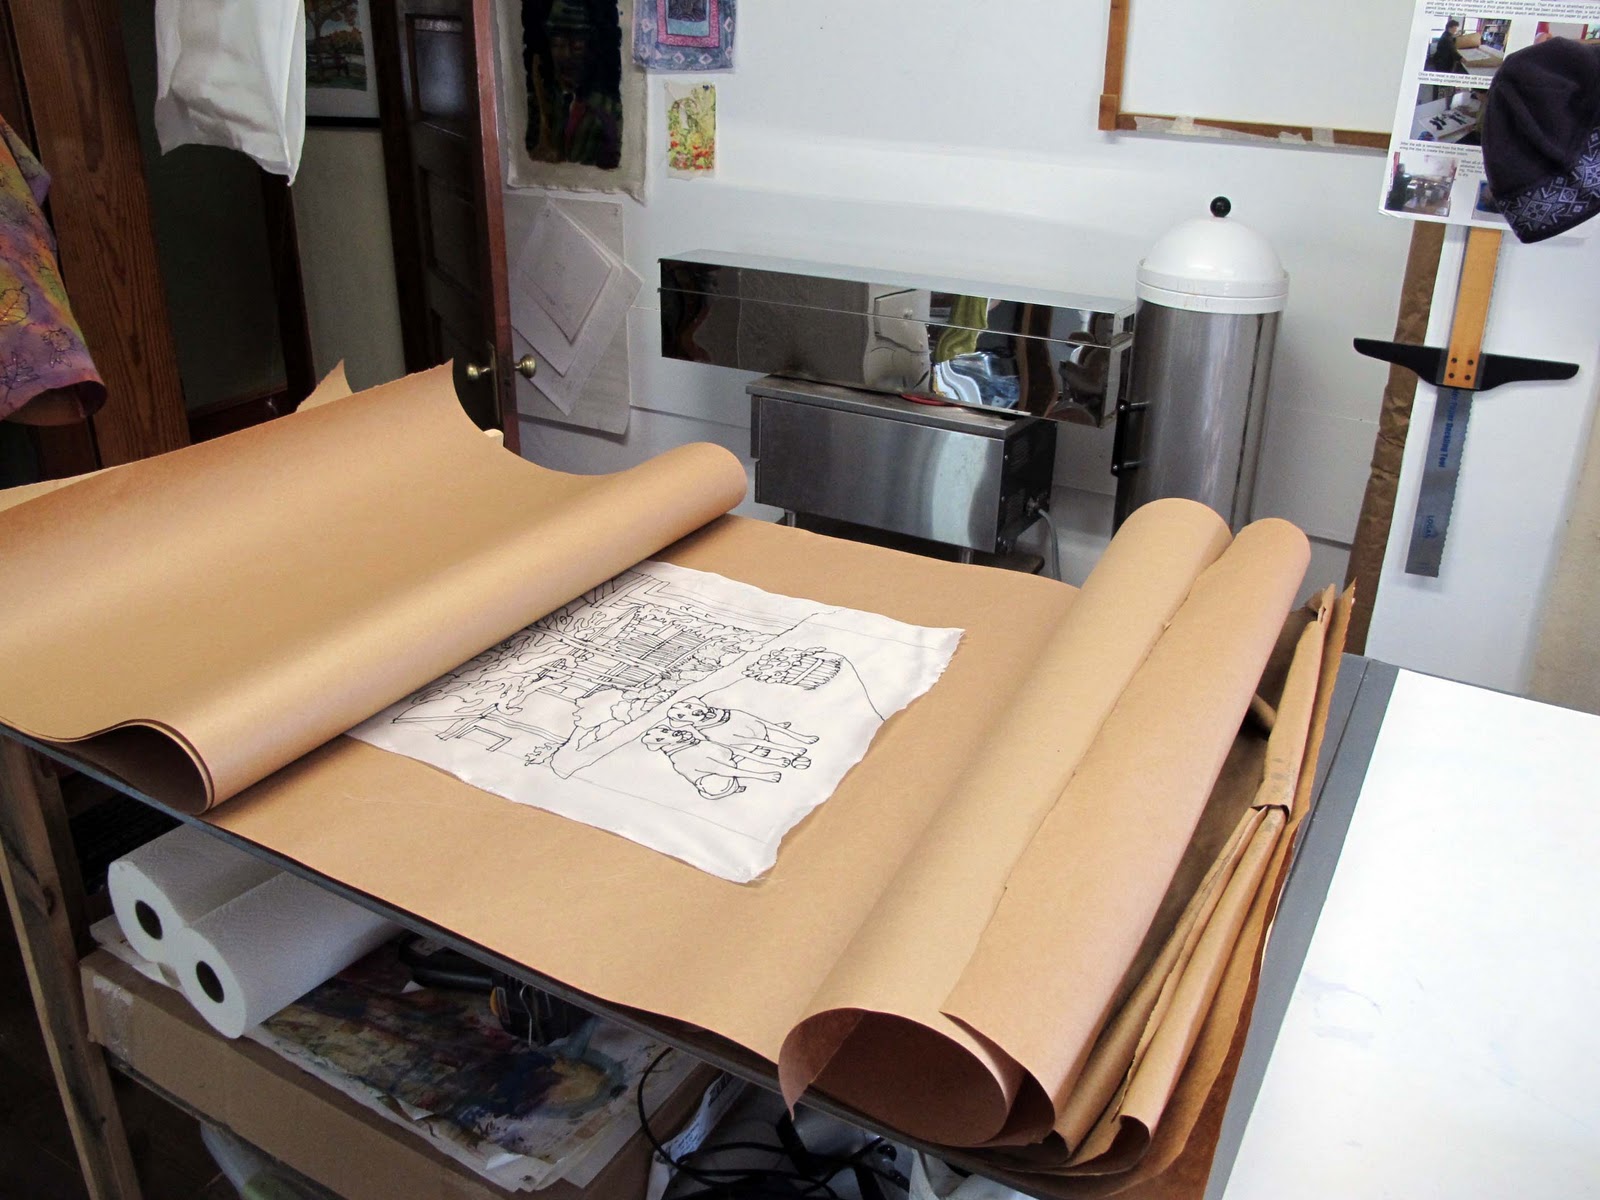
After the resist has been applied to the silk and it is left in the stretchers until the resist is dry.


Once the resist is dry I remove the silk from the stretchers and hang it on the line for safe keeping overnight. Tomorrow I will steam the silk to set the black Dupont dye in the resist. The steaming process will also activate the holding properties of the Resistad. Steaming creates more of a wax-like resist than heat setting with an iron does, however some people also get remarkable results by just heat setting with an iron. The alcohol in the Dupont dye is very caustic to the Resistad so steam setting it works best for me. Another bonus to batch steam setting the resisted silk is that I can roll them all up pop them in the steamer for 1-1/2 hours and go onto working on something else. I can't imagine standing over all of these paintings ironing each and every line until it is properly heat set.


Saturday, January 28, 2012

Conte Pencil vs Quilters Pencil on Silk


Conte Pencil
Ok so I have done 4 drawings on silk with the Conte pencil instead of the grey quilters pencil I normally use and I am really loving it. The quilters pencil was causing too many problems, so when my silk painter friend Don Baker recommended vine charcoal or Conte pencil to trace drawings on to silk I jumped at the chance to try something new.

In the past I have tried the disappearing pen and I hated it. The blue water soluble pens, also hated that, so I settled on the quilters pencil as the lesser of 3 evils. The problem I was having with the quilters pencil was that you had to push really hard and that hurt my arthritic hands......a lot! Plus by pushing hard the pencil tip was constantly breaking, I mean like every few strokes it would break again. Then there was the problem of the lines not washing out all the way, that was really annoying because it it supposed to be a water soluble pencil. The Conte pencil flows so easily onto the silk that you need to apply very little pressure. It takes such a light hand to draw that I was able to put 4 drawings onto silk in one day. I never could have done that with the quilters pencil or my hands would be aching! Also the tip never breaks, not once during all those drawings did the tip break!!! Wooo hooo!!!!!


Pentel Click Eraser

My biggest concern with the Conte pencil was that it also would not wash out and I am still in the testing phase here but today I discovered something cool about it. In the past when I incorrectly drew a line with the quilters pencil I used a Pentel Click Eraser to erase it but it would not come out totally. Even water would not take it out all the way. Yesterday when I made a mistake with a line on the silk I tried the Pentel click Eraser but it was not taking it out all the way so I got a paper towel and dampened it and it came out so easily with such little residue that I feel confident the dyes will cover it. So I am loving my Conte pencil on silk!!!! Thanks so much Don Baker. In return for this great tip I am posting your web link here: Don Baker Silks Website


Wiping the Conte pencil off with a damp paper towel worked great. You want to draw lightly with the Conte pencil but to me that is part of the beauty of it, you don't need to press hard and wear out your hands!

My stash of Conte Pencils


Friday, January 27, 2012

Prepping the Silk & Transfering the Drawings onto Silk


 In the above photos I am cutting/tearing the silk to the size I need it to be for the paintings I am working on. Then I coat the silk with an antidiffusant that will help me get more of a watercolor effect when I paint the dyes on the silk. It will also give me more control over the spread of the dyes. After the silk is coated it is hung on a line in my studio to dry. 


In the photos above I am pinning the silk to the wall so I can transfer my sketch onto the silk with a Conte' pencil. I usually use a water soluble quilters pencil but have been having a lot of problems with them so Don Baker suggested using soft vine charcoal or Conte' pencil. The vine charcoal did not work because of the small details in these paintings but the Conte' worked great. I have to say it was a heck of a lot easier tracing the drawing with the Conte' instead of the quilters pencil! It was so smooth and required nowhere near as much pressure as the quilters pencil does. I just pray it washes out because there is some wax in the Conte' pencils and that was one of the problems I was having with the quilters pencils, the wax in them was not allowing them to wash out totally. 


The photos below show the silk with the sketches already traced onto the silk hanging on the line for safe keeping until I am ready to apply the resist.


Thursday, January 26, 2012

Another Sketch & Preparing the Silk

I did two more sketches for silk painting ideas but I only managed to photograph one. I think I will call this one "Watching and Waiting"

Cutting the silk to the right size for the paintings I am planning to do. Actually I tear the silk more than cut it because tearing it gives a nice clean line
Coating the silk with a special starch prior to transferring my sketches onto it


Hanging the pre-coated silk to dry

Wednesday, January 25, 2012

Shores of Avalon


Dedicating this song to my Husband's beloved Mother.
Dad will be there waiting for you Mom, you both have waited a long time for this sweet reunion. The heavens are ringing with joy today in celebration of your reunion.

The Shores of Avalon
"Be brave my love,
The time has come,
To cross the Tintigale sea,
The fragrant air,
The apple blossoms,
Have all been beckoning,
And there we'll stand,
Looking out upon the world that we've known,
All fear will be gone
When we reach the shores of Avalon,
You'll be greeted there,
By maidens fair,
With eyes of the royal sea,
In the garden they will braid your hair,
With violets and rosemary,
And there we'll stand,
Looking out upon the world that we've known,
All fear will be gone,
when we reach the shores of Avalon,
Feel the wind on your face,
As we cross the stormy sea,
Close your eyes,
Dont look back,
Theres nothing left to see,
The other night,
You came to me,
Like an angel you appeared,
And we climbed the endless sky,
And held each other near,
And there we'll stand,
Looking out upon the world that we've known
All fear will be gone,
When we reach the shores of Avalon,
Be brave my love."

Tuesday, January 24, 2012

3 New Drawings....Which One Should I Paint on Silk First?

I finished the 3 sketches I was working on and I'm trying to decide which one I should paint on silk first. What do you think? Also I need ideas for short titles of the paintings.


Monday, January 23, 2012

New Spring/Summer Sketches on Paper & Silk

Went back to the drawing board today....literally! Today I was blessed with enough energy to work on some sketches for some paintings to send out to my galleries when they do the spring/summer inventory change out. There are 3 new sketches on paper that I am working on and 2 drawings that I traced onto silk last fall. The 2 on silk were meant to be fall/winter scenes but I never got them completed and am now toying with the idea of transforming them into summer paintings.

Every time I started  to think ahead to transferring the drawing to silk, applying the resist and dyes and steaming  etc I got overwhelmed. The chronic fatigue has been especially intense on this cleanse, I am told that can happen. So anyway I set my mind to just enjoy one step at a time and today it was sketching and once I gave myself that space I really enjoyed being back in the studio!


Click to enlarge

Sketches on Silk Click to Enlarge
Sketch on Silk Click to Enlarge

Sketch on Silk Click to Enlarge